How To Attach Downspout With Sheet Metal Screws

Everbilt 1 4 In 20 X 1 In Zinc Plated Pan Head Slotted Drive Sheet Type F Tip Metal Screw 2 Pieces 31221 Zinc Sheet Sheet Metal Stainless Steel Pans

Amazon Com Eagle 1 8 1 2 Inch Gutter Downspout Or Sheet Metal Screws Multiple Quantities Colors Easy Start Sharp Tip Zip Screws Fasteners 25 Traditional Blue Home Improvement

Attaching Gutters Downspout To A Tiny Home Dersen Pre Fab Shed Building Thanks To Resilience For The Idea And Fo Metal Roof Downspout Drainage Rain Gutters

Duvallconductorhead Conductor Heads Add A Distinctive Touch To Your Gutter And Downspout System Beachsheetmetal Ar Gutters Downspout How To Install Gutters

Amazon Com Eagle 1 8 1 2 Inch Gutter Downspout Or Sheet Metal Screws Multiple Quantities Colors Easy Start Sharp Tip Zip Screws Fasteners 25 Black Home Improvement

Amazon Com Eagle 1 8 1 2 Inch Gutter Downspout Or Sheet Metal Screws Multiple Quantities Colors Easy Start Sharp Tip Zip Screws Fasteners 25 Copper Home Improvement

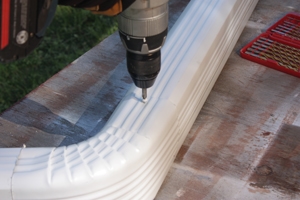
These painted sheet metal screws are the easiest way to attach downspouts elbows and extensions.
How to attach downspout with sheet metal screws.

Amazon Com Eagle 1 8 1 2 Inch Gutter Downspout Or Sheet Metal Screws Multiple Quantities Colors Easy Start Sharp Tip Zip Screws Fasteners 1000 Pearl Grey Home Improvement

Amazon Com Eagle 1 8 1 2 Inch Gutter Downspout Or Sheet Metal Screws Multiple Quantities Colors Easy Start Sharp Tip Zip Screws Fasteners 100 Dove Grey Home Improvement
Amerimax Home Products Musket Brown Steel Sheet Metal Screw 8 Pack Steel Sheet Metal Steel Sheet Sheet Metal

All About Gutters Gutters Gutter Repair Downspout

Amazon Com Eagle 1 8 1 2 Inch Gutter Downspout Or Sheet Metal Screws Multiple Quantities Colors Easy Start Sharp Tip Zip Screws Fasteners 100 Almond Home Improvement

Amazon Com Eagle 1 8 1 2 Inch Gutter Downspout Or Sheet Metal Screws Multiple Quantities Colors Easy Start Sharp Tip Zip Screws Fasteners 500 Antique Ivory Home Improvement

10 16 X 1 2 Sheet Metal Screw 6 Lobe Truss Head Type B Stl Zinc Ebay In 2020 Sheet Metal Zinc Stl

Amerimax Home Products Savannah Wicker Steel Sheet Metal Screw 8 Pack 85354460pk Steel Sheet Metal Steel Sheet Sheet Metal
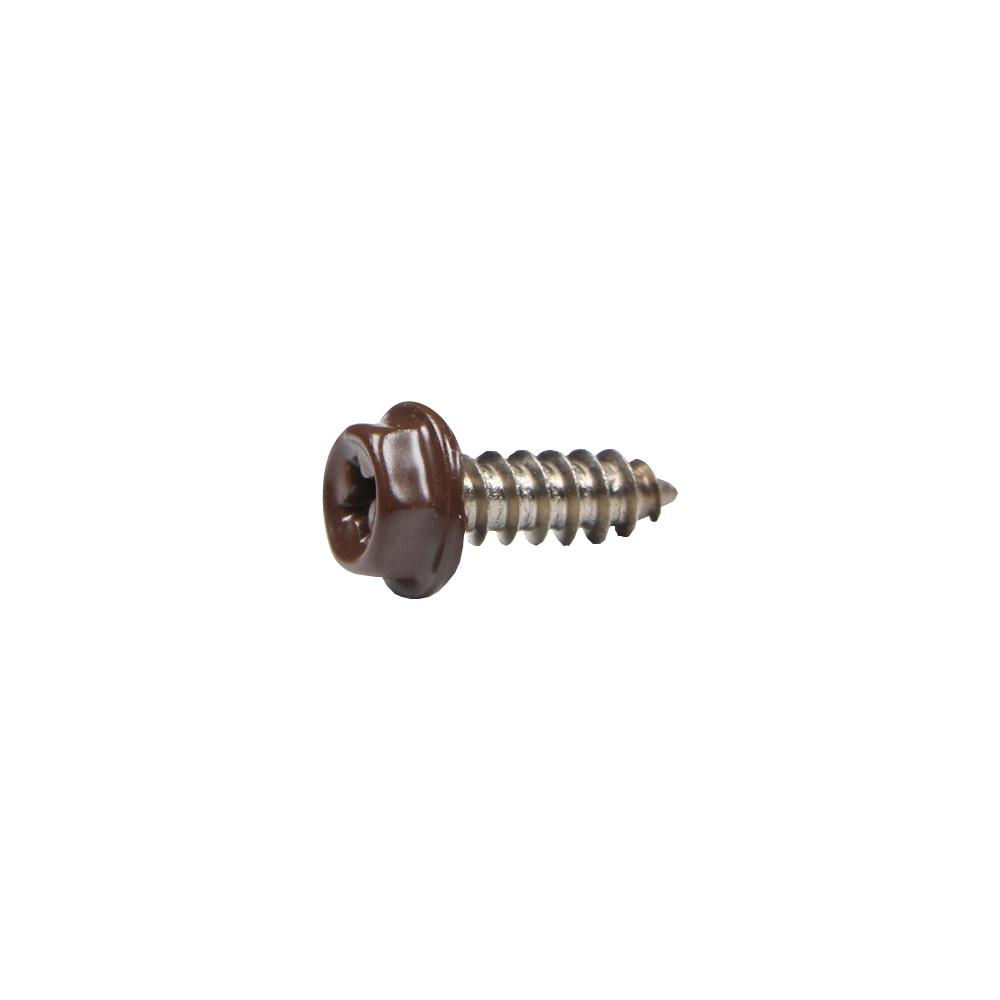
Everbilt 8 X 1 2 In Brown Stainless Steel Hex Head Gutter Sheet Metal Screw 25 Pack 804514 The Home Depot

Amerimax Home Products Herringbone Steel Sheet Metal Screw 8 Pack Steel Sheet Steel Sheet Metal Sheet Metal
Gutters Downspouts For The Diy Er Extreme How To

Amerimax Home Products 5 In Hidden Hanger With Screw 21812 The Home Depot In 2020 Gutters Downspout Downspout Diverter

Easy Gutter Fixes You Can Diy Gutters Gutter Repair Diy Gutters

How To Install Rain Gutters Diy Gutters Gutters How To Install Gutters

Custom Rain Gutters Rain Water Systems Gutters Rain Gutters Downspout

Zip In Self Piercing Sheet Metal Screw Malco Products Sbc

How To Install A Half Round Gutter Gutters Copper Gutters House Gutters

Contemporary Waterwheel In 2020 Water Wheel Rain Chain Water Collection
Https Encrypted Tbn0 Gstatic Com Images Q Tbn 3aand9gctsuphfavk6tzm6fzyryzhdc2tkplf7aavxjmz3zjszjzzvc3qb Usqp Cau

Amerimax Home Products Tux Gray Steel Sheet Metal Screw 8 Pack Steel Sheet Metal Steel Sheet Sheet Metal

Amerimax Home Products Royal Brown Steel Sheet Metal Screw 8 Pack Steel Sheet Metal Steel Sheet Sheet Metal

Hand Soldered Gutter Copper Gutters Gutters Downspout
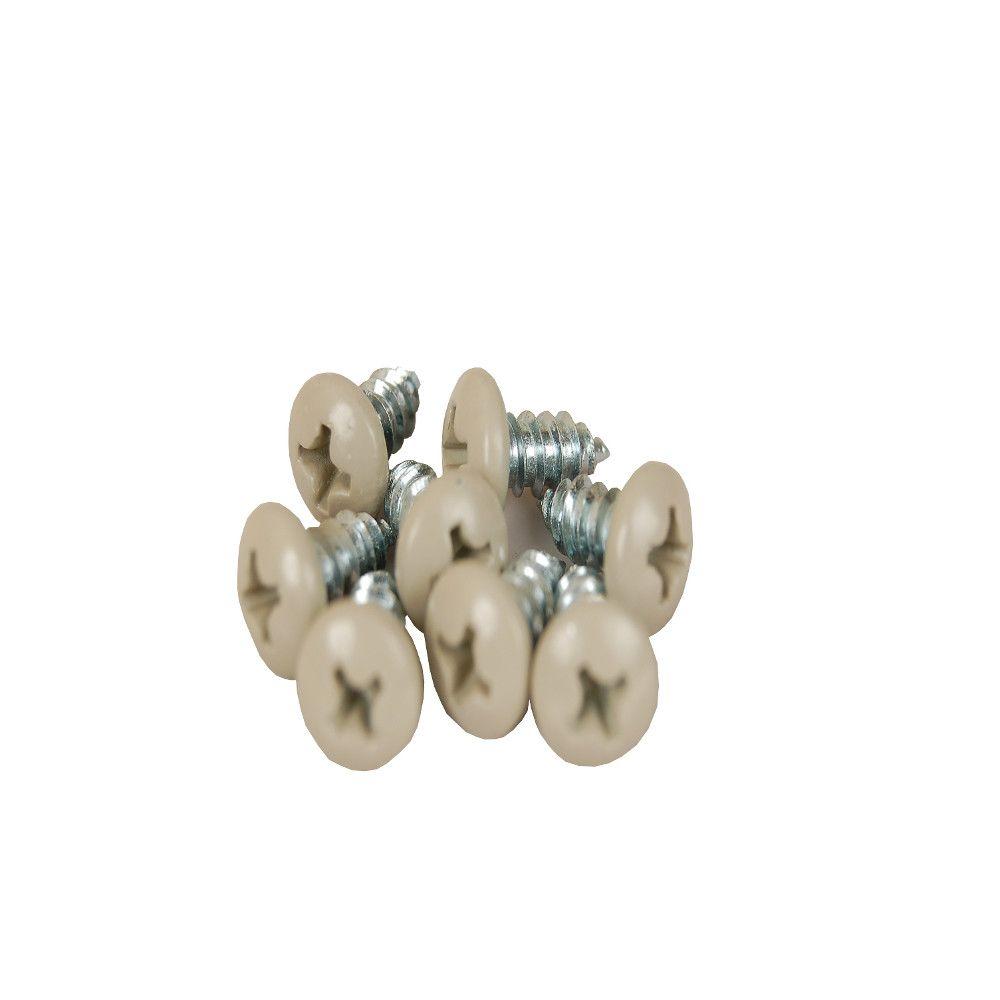
Amerimax Home Products Natural Clay Steel Sheet Metal Screws 8 Pack 85354790pk The Home Depot

Zip Hinge Gutter Downspout Extension Solution Gutter Downspout Extension Gutter Drainage Gutter Extensions
Source : pinterest.com
